WinPwn will then ask if you would like to use custom boot/recovery images. Click the green thumbs up button if you would like to
سيبدأ الWinPwn بالبحث على الفيرموير 2.0.2
إذا لم يجده سيطلب منك تحديدة مكانه يدويا إضغط على الزرار الأخضر واختار الفيرموير 2.0.2 الذي تم تحميله فى الخطوة الأولى
WinPwn will now search for your ipsw firmware file. If it cannot find it you will be asked to search manually. Click the green thumbs up button then navigate to the Pwnage folder on your desktop and select the ipsw you downloaded in Step One.
الخطوة التاسعة
سيبدأ الWinPwn بتجهيز الكاستم ipsw
WinPwn will now build your custom ipsw
الخطوة العاشرة
بمجرد انتهاء الWinPwn من تجهيز الكاستم ipsw
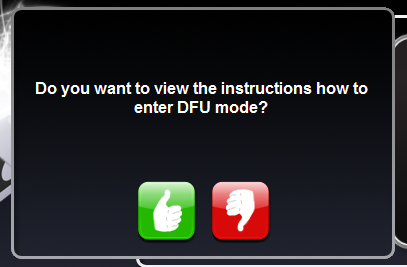
سيطلب منك اذا كنت تريد أن يعرض لك خطوات إدخال الآي-فون الى ال DFU مود
لعرض الخطوات اضغط الزرار الأخضر
إذا كنت خبير فى وضع الآي-فون فى ال DFU مود اختار الزرار الأحمر
و ضعه فى ال DFU مود بطريقتك وانتقل الي الخطوة الرابعة عشرة
Once your custom ipsw has been built WinPwn will ask you if you want to see instructions on putting your iPhone into DFU Mode
الخطوة الحادية عشرة
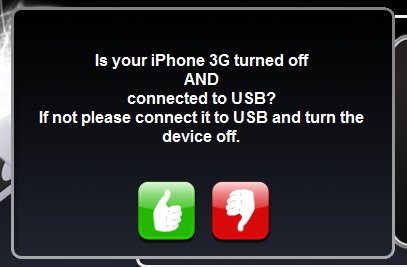
سيطلب من توصيل الآي-فون بالكمبيوتر عبر ال USB مع التأكد من قفل التليفون
نفذ ذلك ثم اضغط على الزرار الأخضر
WinPwn will then prompt you to connect your iPhone via USB and make sure its turned off. Do this then click the green thumbs up button
الخطوة الثانية عشرة
اضغط OK لبدء العملية
WinPwn will then say its ready to start Pwnage. Click the green OK button
الخطوة الثالثة عشرة
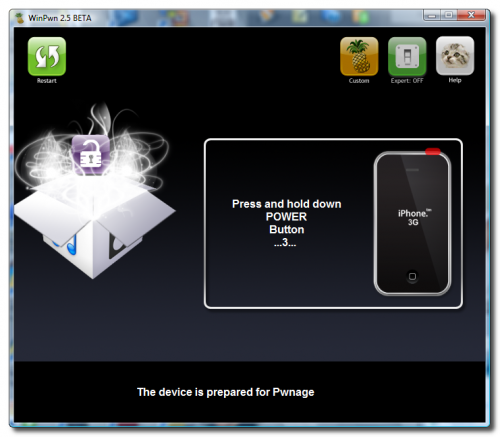
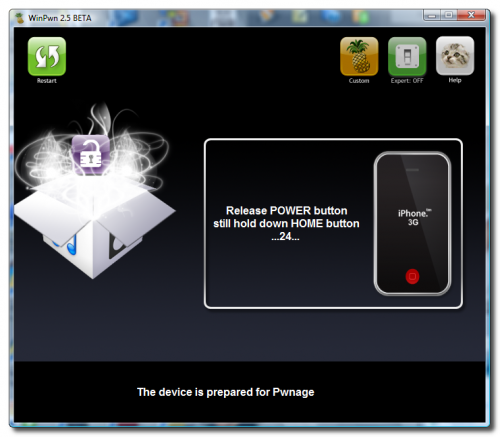
كن جاهز لتنفيذ الخطوات التالية لإدخال الآي-فون فى ال DFU مود
إضغط على زرار الباور مع زرار الهوم معا لمدة 10 ثوانى
نفذها بالعد 1 2 3 4 . . . حتى 10
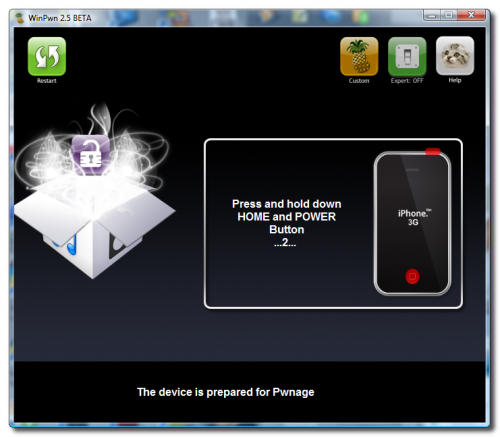
عند العدة العاشرة اترك زرار الباور وخليك ضاغط على زرار الهوم لمدة 10 ثوانى أخري
Be ready to follow directions now. It will ask you to hold the home button and the power button for 10 seconds. Then, you will have to release the power button and hold the home button for 10 seconds to enter DFU
الخطوة الرابعة عشرة
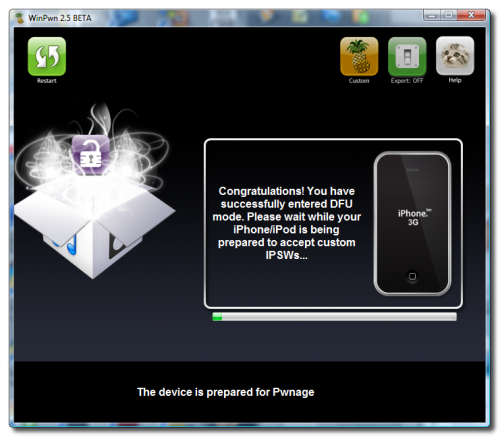
بمجرد دخول الآي-فون فى ال DFU مود ستبدأ عملية ال pwnage
Once you iPhone is in DFU mode WinPwn will begin the pwnage process
 سوف يتم إخبارك بمجرد الإنتهاء من العملية
You will be informed when pwnage is complete
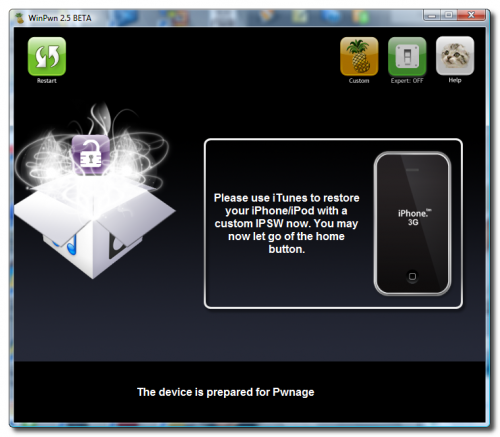 لاحظ أنه سيظهر على الآي-فون رسالة تفيد بأن الجهاز جاهز لعملية ريستور الكاستم IPSW
Notice your iPhone will show a message saying, "Ready to Restore Custom IPSW"
الخطوة الخامسة عشرة
سوف يخبرك الآي-تيونز أن الآ-يفون فى الريكفري مود
iTunes will now prompt you that you are in recovery mode
اضغط على مفتاح Shift من الكيبورد مع ريستور من الآي-تيونز
Hold down Shift and click the Restore button in iTunes
سيطلب منك اختيار الفيرموير
قم باختيار الفيرموير الكاستم الذي تم تجهيزه فى الخطوات السابقة
واضغط open
لاحظ ستجد الفيرمويرالكاستم فى مجلد My Documents
A popup window will appear asking you to select your firmware. Select the Custom firmware file we created using WinPwn then click the Open button.
NOTE**: WinPwn placed the Custom firmware file in the "My Documents" folder.
وبمجرد الانتهاء من الريستور Restore سوف تحصل على آي-فونك غير مقفل وشغال على كل الشبكات فى العالم
Your iPhone will now be restored unlocked to the jailbroken 2.0.2 firmware